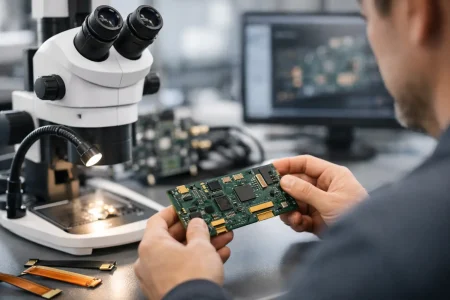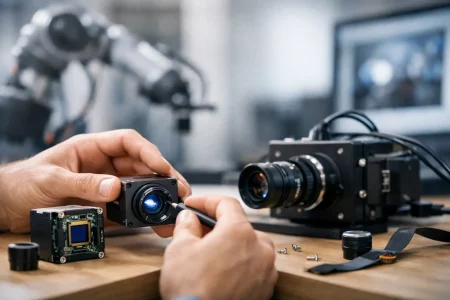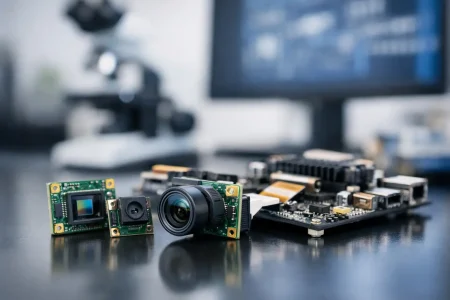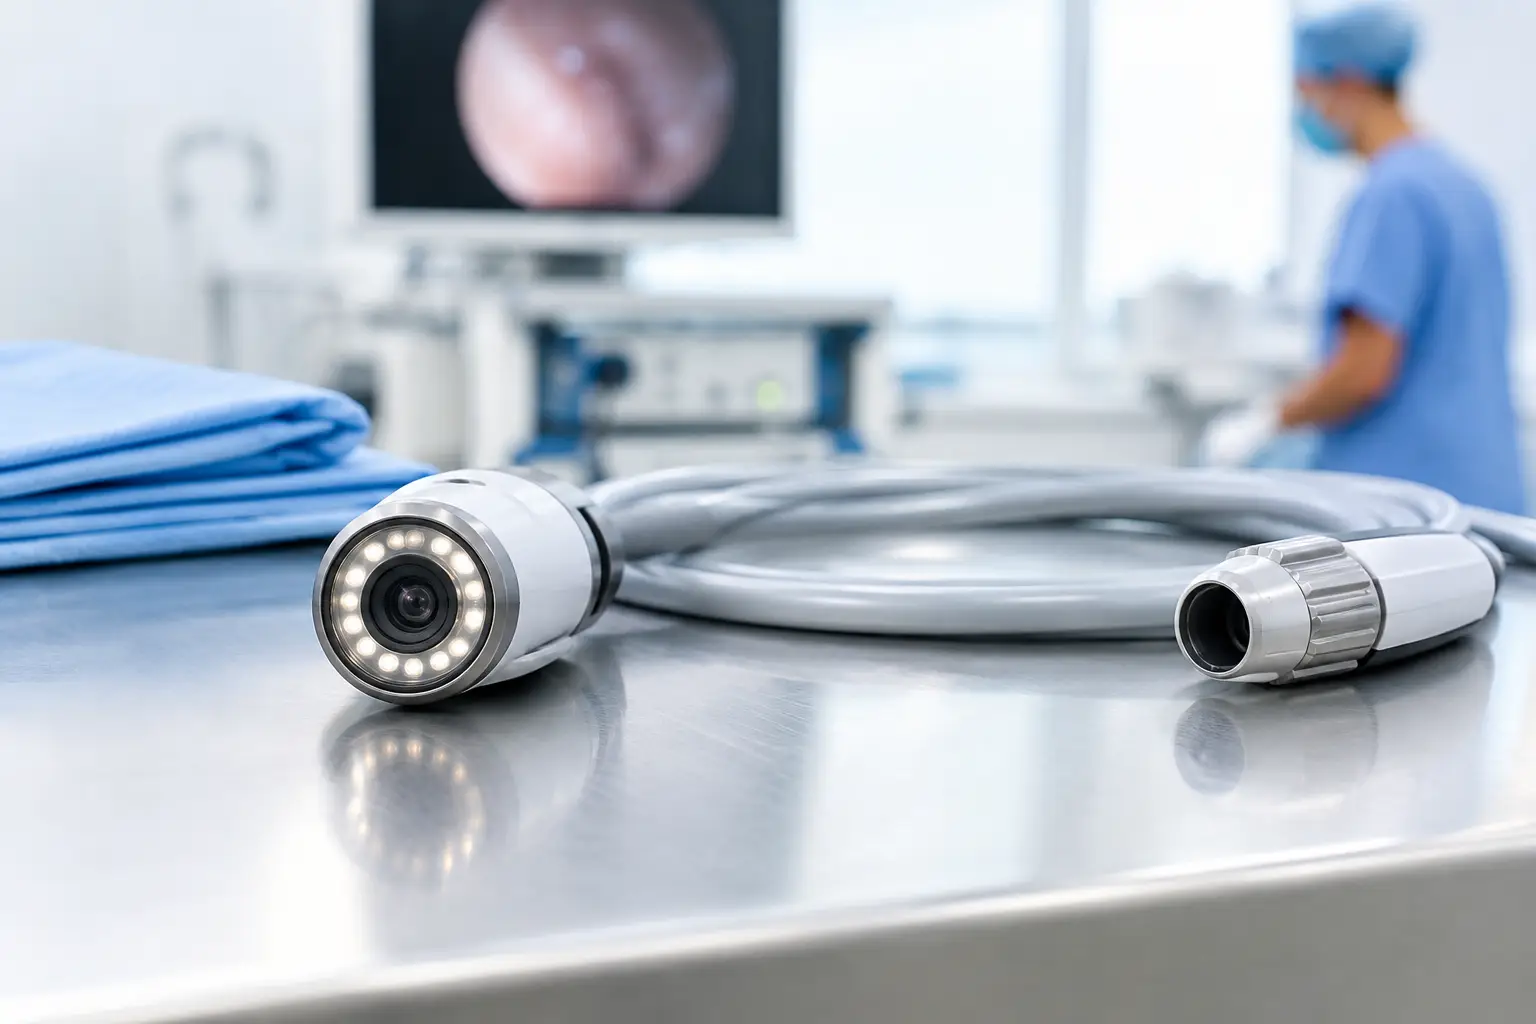
A sterilizable camera example is rarely just a camera module placed inside a metal tube. For a reusable medical device, sterilization performance is determined by the complete imaging assembly: sensor module, lens stack, protective window, housing, seals, cable exit, connectors, and the validated reprocessing method. A design that produces clean images on the bench can still fail commercially if repeated cleaning and sterilization degrade optical clarity, sealing, or electrical reliability.
For medical device OEMs, this distinction matters early. The camera selection, mechanical envelope, and sterilization pathway must be engineered together. Retrofitting a standard camera into a sterilizable instrument often creates costly redesigns after environmental testing begins.
A practical sterilizable camera example
Consider a reusable rigid inspection scope or minimally invasive visualization instrument with a compact camera positioned at the distal end. The assembly may use a small CMOS sensor, a fixed-focus lens, LED illumination, a sapphire or medical-grade glass window, and a stainless-steel housing. The camera connects through a fine cable or integrated electronics to a proximal processing unit.
The device is intended for use, cleaning, and repeated low-temperature sterilization. In this example, the camera itself is not exposed as an unprotected board-level component. Instead, it becomes part of a sealed optical head designed to withstand the specified reprocessing cycle.
That distinction is commercially useful. Buyers should ask not only, “Can this camera be sterilized?” but also, “Which finished configuration, at what cycle parameters, for how many cycles, has been validated?” A camera module may be compatible with a system design, while the complete sterilizable assembly requires separate verification and validation.
The imaging stack
A typical compact imaging stack begins with a CMOS sensor selected for the required resolution, frame rate, sensitivity, and power budget. A 720p or 1080p sensor may be sufficient for many visualization tasks, while higher resolution can support inspection detail or digital zoom. Resolution alone does not determine image quality. Lens quality, illumination uniformity, color response, distortion, and processing also affect whether clinicians or operators can make confident decisions.
The lens is usually fixed and mechanically secured to preserve focus after vibration and thermal cycling. For very small-diameter assemblies, depth of field can be more valuable than a wide aperture. A wider aperture improves low-light performance, but it can reduce depth of field and make mechanical focus tolerances more difficult to control.
At the front of the optical path, a protective window isolates the lens from fluids, detergents, and sterilization media. Sapphire offers excellent scratch resistance and durability, while optical glass may be appropriate where cost, optical coating requirements, or geometry drive the choice. The window must be mounted without introducing stress, fogging, reflection problems, or a leak path around its perimeter.
The sealed housing
In this sterilizable camera example, the housing is as critical as the sensor. Stainless steel is common in reusable medical instruments because it offers mechanical strength, corrosion resistance, and compatibility with many cleaning processes. Depending on the design, titanium or specialized engineering polymers may also be considered.
The main challenge is not choosing a material with a good data sheet. It is maintaining a stable seal through repeated temperature changes, moisture exposure, chemical contact, and mechanical handling. Adhesives, O-rings, laser welding, brazing, and crimped window structures each have different strengths and limitations.
Laser-welded metal housings can reduce potential leak paths and eliminate some adhesive concerns, but they demand precise fixture design and careful thermal management around sensitive optical components. Adhesive bonding may enable compact geometries and mixed-material construction, but the adhesive must be selected and tested for chemical resistance, outgassing, optical contamination, and cycle life. There is no universal best method. The correct choice depends on diameter, sterilization method, service life target, and manufacturing volume.
Sterilization method changes the camera design
“Sterilizable” is not a single requirement. Steam autoclave, ethylene oxide, hydrogen peroxide plasma, and liquid chemical sterilization expose an imaging assembly to very different conditions.
Steam is particularly demanding because high temperature, pressure, and moisture can accelerate degradation in adhesives, cable jackets, coatings, and electronic components. A camera system intended for steam sterilization requires a conservative material strategy and substantial cycle testing. Many compact electronic assemblies are better suited to low-temperature sterilization methods, provided the final device and intended use support that route.
Ethylene oxide operates at lower temperatures and can be more forgiving to electronics, but its long processing and aeration requirements affect device workflow. Hydrogen peroxide plasma is also low temperature, yet material compatibility and geometry restrictions must be evaluated carefully. Narrow lumens, certain material combinations, and enclosed cavities can complicate process effectiveness.
For procurement and engineering teams, the specification should state the actual target process rather than using the broad word “sterilizable.” Define the temperature range, pressure where applicable, chemical exposure, dwell time, drying process, and required number of cycles. A requirement such as “survives 100 low-temperature sterilization cycles with no loss of image performance or sealing integrity” is far more actionable than a general request for a medical camera.
Interfaces and cable design are frequent failure points
The cable exit is often the weak point in a sealed camera head. Fine coaxial cables, micro-coax bundles, and FPC connections provide compact routing, but they must survive bending, strain, cleaning chemicals, and ingress risk. Cable jacket selection affects flexibility and chemical resistance, while overmolding or strain-relief geometry affects long-term mechanical reliability.
A fully integrated camera head can minimize connections near the patient-side end, but it may make service and replacement more difficult. A detachable design can improve maintainability, yet every connector introduces another sealing, contamination, and lifecycle question. The trade-off should be made at the system architecture stage, not after the optical head is complete.
Electrical interface selection also depends on cable length and processing location. MIPI CSI-2 is efficient for short internal connections but is not usually ideal for long cable runs without a serializer-deserializer architecture. USB can simplify integration at the host side, while customized digital transmission may be preferred for specialized medical consoles. The imaging supplier should understand the full signal chain, not only the module connector.
How to qualify a sterilizable imaging assembly
A credible qualification plan combines optical, electrical, mechanical, and environmental testing. Testing after a single cycle is not enough. Performance should be measured at defined intervals across the intended lifecycle because failure modes can emerge gradually.
Key evaluation areas include image resolution and color consistency, dead or hot pixels, focus stability, fogging, window scratches, housing corrosion, seal integrity, cable strain performance, and electrical continuity. Where applicable, ingress testing and pressure-decay testing can help identify seal degradation before visible leakage damages the electronics.
The cleaning phase deserves the same attention as sterilization. Detergents, enzymatic cleaners, brushing, ultrasonic exposure, and drying procedures may create stresses that are absent from the sterilizer itself. If the device will be used in hospitals, the validation plan should reflect realistic reprocessing behavior rather than ideal laboratory handling.
Documentation also matters during supplier qualification. Ask for controlled drawings, material declarations, interface specifications, sample inspection criteria, traceability expectations, and change-control procedures. For custom projects, prototype builds should be used to validate the optical and mechanical concept before committing to production tooling.
Selecting the right development partner
A camera supplier for this application must be able to work beyond the sensor and lens specification. The most useful partner can support compact module design, optical alignment, cable routing, housing integration, prototype iteration, and scalable production controls.
SincereFirst supports embedded imaging development with standard and customized camera modules, including endoscope and medical imaging configurations. For a sterilizable device program, early engineering collaboration can help identify whether the requirement calls for a sealed distal camera head, a disposable sterile barrier, a detachable imaging section, or a low-temperature reprocessing strategy.
The fastest route to a dependable product is to define the clinical or industrial workflow first, then build the imaging assembly around its actual cleaning, sterilization, handling, and lifecycle demands. A camera that survives the required process is valuable. A camera system that continues to deliver stable, trusted images after repeated real-world use is the design target.