A failed inspection camera rarely fails because of the sensor alone. More often, the problem starts when the module selected for the product does not match the real operating environment. That is why an endoscope imaging module application example is useful at the design stage – it shows how diameter, cable structure, lighting, interface, and image tuning affect the final device, not just the datasheet.
For OEMs, system integrators, and engineering teams, endoscope modules are rarely off-the-shelf decisions. The same imaging core can behave very differently in a medical access device, an industrial borescope, or a compact service robot. A practical application example helps narrow the specification faster and reduces the risk of redesign after EVT or pilot production.
Endoscope imaging module application example in practice
Consider a handheld industrial inspection device designed to examine turbine housings, welded joints, and narrow pipe interiors. The product team needs a small-diameter camera head, stable illumination, enough cable flexibility for maneuvering, and a video output that can integrate with an embedded display board. At first glance, this sounds straightforward. In practice, every requirement pulls on another.
If the insertion tube must enter a 4 mm cavity, the camera head diameter has to stay comfortably below that limit. That usually constrains sensor size, optics, and LED layout. A smaller module improves access, but it can reduce light intake and image detail. If the customer wants higher resolution for crack detection, the design may need stronger illumination, better lens quality, or shorter working distance rather than simply a larger pixel count.
In this example, the better solution is not necessarily the highest-resolution endoscope camera module. It is the module that produces a readable, stable image under low-light reflective conditions while maintaining mechanical reliability during repeated bending and insertion cycles.
Application target
The device is intended for preventive maintenance in industrial equipment. Operators inspect internal surfaces for corrosion, debris, micro-cracks, and assembly defects. The camera must provide clear close-range imaging, tolerate vibration, and support long operating sessions without thermal instability.
This is a common environment where endoscope modules need more than miniature size. They also need controlled distortion, consistent white balance under LED illumination, and a cable assembly that survives field use.
Core module configuration
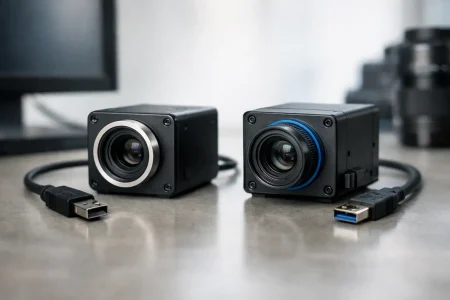
A suitable configuration for this kind of application may include a compact CMOS sensor, integrated or separate LED illumination, a waterproof camera head, and either a USB or MIPI output depending on the host architecture. If the handheld device uses an embedded Linux or Android board, MIPI is often preferred for tighter integration and lower system latency. If the goal is fast development or PC-based testing, USB can shorten the evaluation cycle.
Depth of field matters more than many buyers expect. In narrow-cavity inspection, operators do not have much room to reposition the probe. A module tuned for the expected viewing distance can outperform a nominally better sensor that is optimized for another focal range. That is one reason custom optical tuning is often more valuable than simply selecting a catalog part by resolution.
What this application example reveals about module selection
An endoscope imaging module application example becomes more valuable when it shows the trade-offs clearly. In the industrial case above, there are five design variables that usually decide whether the product succeeds.
The first is diameter. Smaller heads improve accessibility but limit optical and lighting options. The second is illumination. Bright LEDs help in dark cavities, but highly reflective surfaces can create glare and wash out defect detail. The third is cable construction. A more flexible insertion section improves navigation, but repeated mechanical stress can affect long-term reliability if the strain relief and internal routing are not designed well.
The fourth is interface choice. USB speeds up prototyping and can simplify host compatibility, while MIPI better suits embedded production devices that need compact architecture and lower overhead. The fifth is image tuning. Parameters such as exposure, color correction, noise reduction, and sharpening should match the actual surface types being inspected. Generic tuning often looks acceptable in lab conditions and underperforms in the field.
For product teams, this means the right module decision depends on the use case first, then the specification table. That order matters.
Medical and industrial examples are not interchangeable
Some buyers ask whether a module proven in one sector can be reused in another. Sometimes yes, but often only at a component level.
A medical endoscope design typically places tighter demands on biocompatibility, sterilization compatibility, image color fidelity, and packaging precision. It may also require very specific head dimensions and controlled thermal behavior near the patient interface. Industrial systems, by contrast, may prioritize ingress protection, impact resistance, stronger auxiliary lighting, and cost control across larger deployment volumes.
Even when two products use a similar sensor format, the final imaging module may need different lens stacks, LED positions, adhesive systems, housing materials, and signal routing. Reusing the same core architecture can save development time, but assuming the same module will perform equally well in both environments usually creates problems later.
A medical-oriented variation
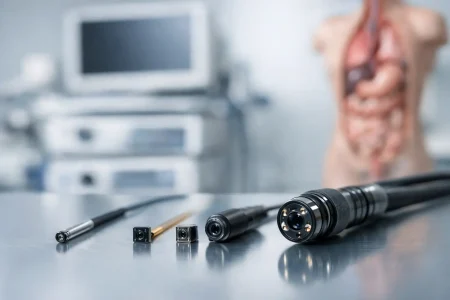
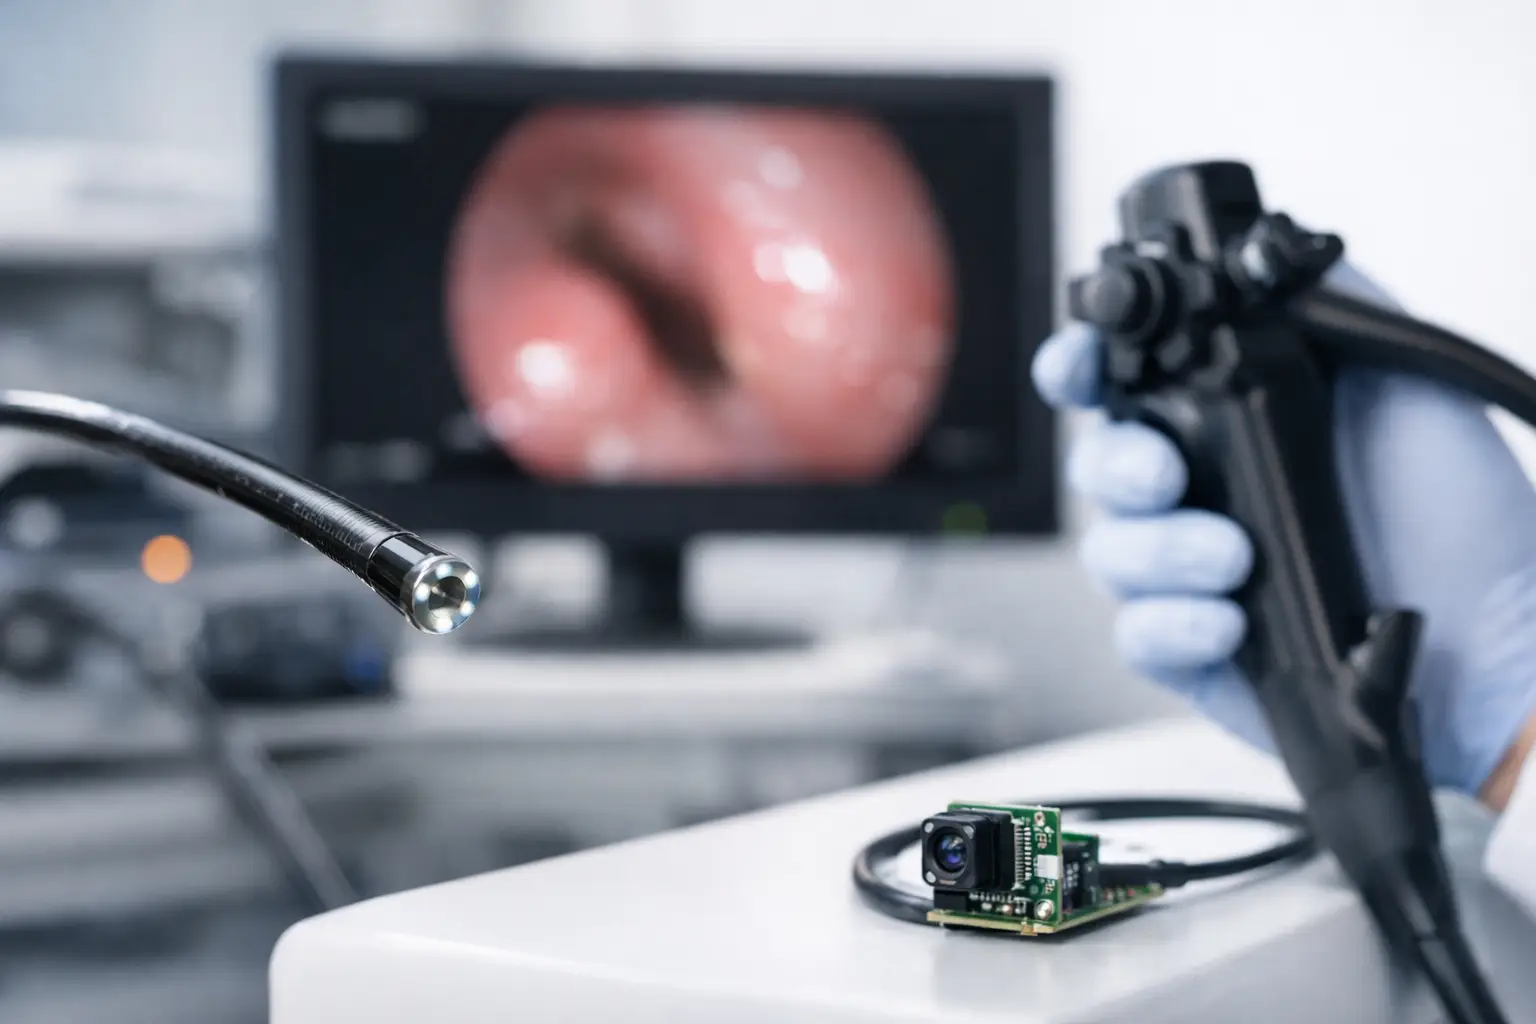
Now consider a single-use or semi-reusable access device for minimally invasive visualization. The module must fit a strict distal-end envelope and deliver clear imaging at short working distances inside tissue environments with specular highlights and uneven lighting. Here, the challenge is not just miniaturization. It is balancing image quality, heat generation, and manufacturability within a very small package.
In that case, the best endoscope imaging module application example would focus on color consistency, low-latency signal transmission, compact illumination design, and repeatable assembly tolerances at scale. If the product is moving toward volume manufacturing, process control becomes as important as optical design.
Why customization usually matters
Endoscope modules are highly application-dependent. A standard module can be the right starting point for proof of concept, but many commercial products need adjustment before launch. Common changes include cable length, connector type, head diameter, LED count, side-view or front-view optics, waterproof grade, and image parameter tuning.
This is where manufacturing capability affects the project timeline. If a supplier can support quick sample revision, optical adjustment, and volume production under controlled processes, the customer can move faster from engineering validation to sourcing approval. If not, teams often lose months trying to force a near-fit module into a product that really needs a purpose-built configuration.
For buyers evaluating suppliers, this is not only a technical question. It is also an operational one. Can the manufacturer maintain consistency from prototype to mass production? Can they support both standard and custom module programs? Can they manage small precision assemblies with stable yield? Those questions carry real commercial weight.
How to evaluate the right example for your product
When reviewing any endoscope module use case, start with the imaging task rather than the interface or sensor brand. Ask what the operator actually needs to see. Is the target a hairline crack, a fluid blockage, tissue texture, or an assembly mismatch? Different targets require different optical priorities.
Then look at the physical path. What is the narrowest passage? How much bending is required? Does the probe need front view, side view, or both? A module that produces excellent lab images can still fail if the head geometry or cable behavior makes it hard to reach the inspection area.
Next, define the system architecture. If the device is battery-powered and compact, power budget and thermal load matter early. If the product needs quick software integration, interface selection matters just as much. If the unit will be deployed in service fleets, long-term mechanical durability may outweigh maximum image resolution.
A good supplier should be able to discuss these points in engineering terms, not only catalog terms. That is especially relevant for OEM buyers building products under schedule pressure.
Where this matters most for commercial development
The strongest value of an endoscope imaging module application example is that it shortens decision-making. Instead of comparing modules in isolation, buyers can evaluate a configuration against a real deployment scenario. That makes quoting, prototyping, and risk assessment more accurate.
For companies developing industrial inspection tools, medical visualization devices, smart service equipment, or compact embedded imaging products, the module is not a minor component. It directly shapes usability, reliability, and the credibility of the finished device. SincereFirst approaches this category the same way serious OEM customers do – as an engineering system that must be manufacturable at scale, not just a camera on a cable.
The useful next step is simple: define the exact viewing task, the physical constraints, and the host interface before choosing the module. Once those three are clear, the right imaging path usually becomes clear as well.