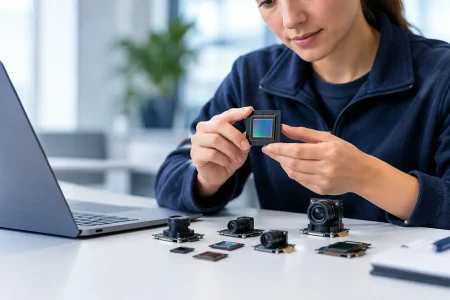
A smart kiosk camera retrofit example is rarely a simple matter of replacing one camera with another. The original kiosk may have a fixed lens opening, limited internal depth, an aging processor board, a short flex cable, and illumination designed for a different sensor. A successful retrofit improves image performance without creating new thermal, mechanical, or software problems that delay deployment.
For kiosk OEMs, operators, and system integrators, the objective is usually specific: capture a face clearly for identity verification, read a barcode at an awkward angle, detect occupancy, document a transaction, or improve remote service diagnostics. The right camera module is therefore defined by the task, the existing hardware, and the production plan – not resolution alone.
A Smart Kiosk Camera Retrofit Example: Upgrading a Check-In Terminal
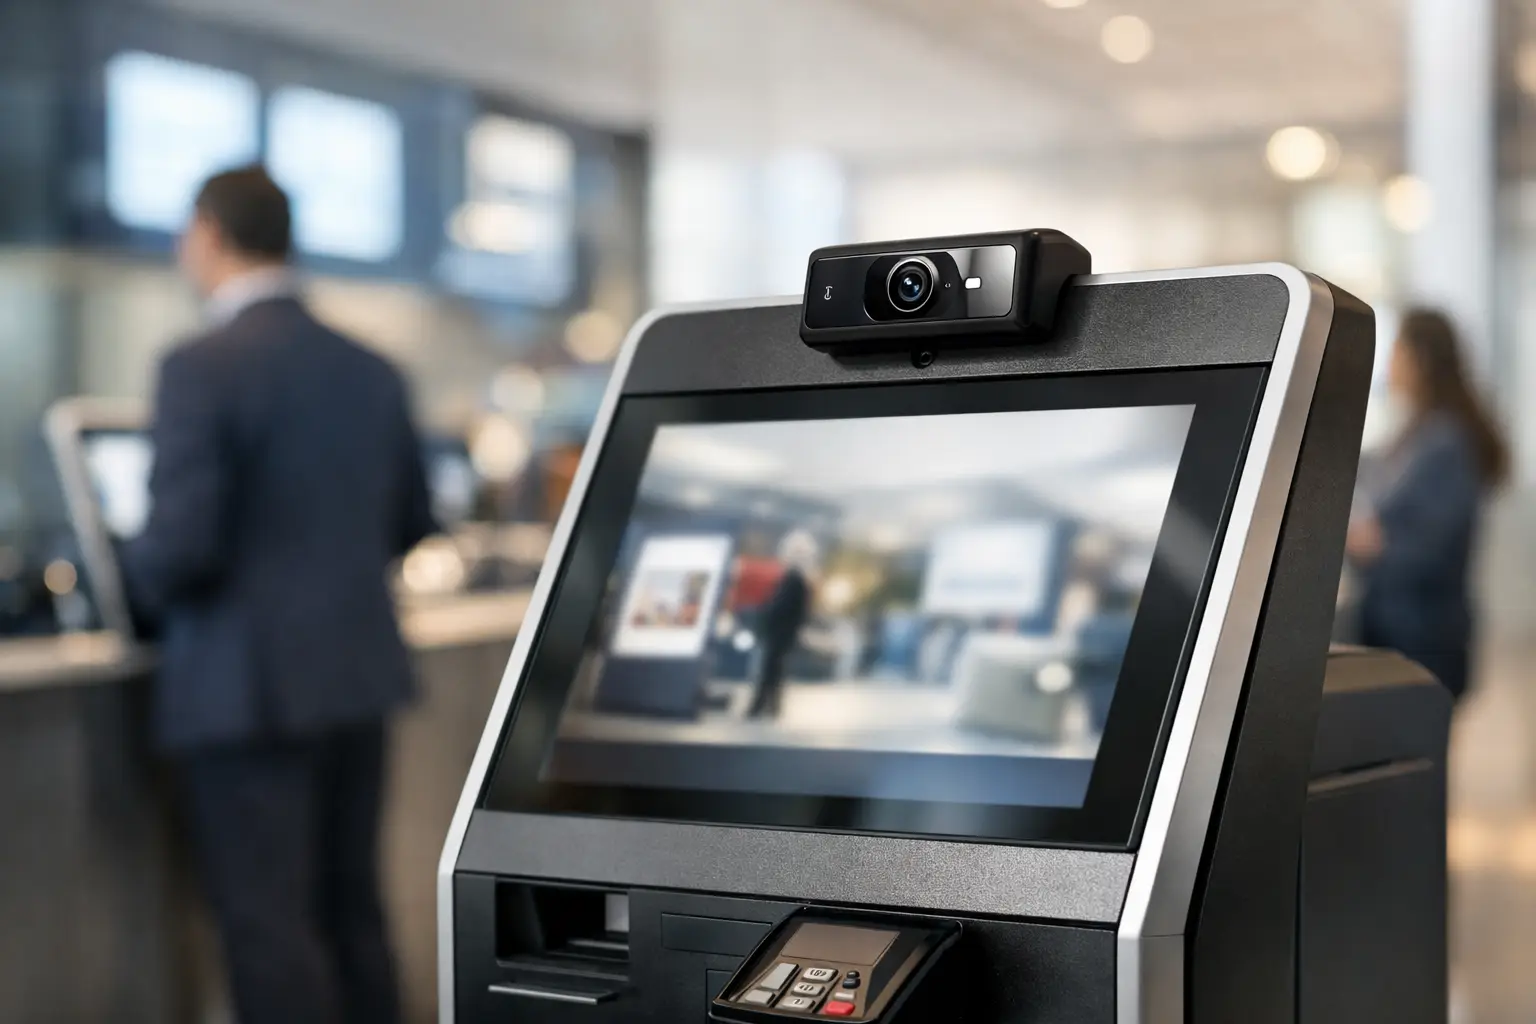
Consider a self-service check-in kiosk already deployed in a transportation or healthcare environment. Its existing 2MP USB camera produces inconsistent facial images under mixed indoor lighting. The camera is mounted behind a smoked acrylic window, positioned slightly below the average user’s face, and connected to an embedded Linux board through USB 2.0. The kiosk vendor wants better face image quality for a verification workflow but cannot redesign the entire terminal.
The first proposal might be a higher-resolution USB camera. That may help, but it can also fail. A 5MP or 8MP sensor can increase bandwidth, processor load, storage requirements, and heat. If the host only accepts a limited USB video format or the application is tuned for a specific UVC stream, a higher pixel count may provide little practical benefit.
A better retrofit path is to define a usable face-capture distance, field of view, required frame rate, target illumination range, and host constraints. For this kiosk, the user stands approximately 18 to 30 inches from the display. The camera needs a horizontal field of view wide enough to accommodate different heights and approach positions, while preserving sufficient pixel density on the face. A 2MP or 3MP module with a carefully selected lens, good low-light sensitivity, and stable UVC output may outperform a poorly matched 5MP module.
The retrofit camera can retain the USB interface to reduce firmware work, but its module dimensions, lens height, and connector exit direction must fit the existing bracket. If the original camera sits close to the front window, lens barrel clearance becomes a real engineering limit. Even a technically capable module is not useful if the lens contacts the housing or its field of view is blocked by the bezel.
Why the Front Window Changes the Result
The acrylic or glass cover is part of the optical system. Tinted material reduces light transmission. Surface scratches create flare. Reflections from the display or overhead lights can reduce contrast around the eyes and face contour. If the cover is angled, it may introduce reflections that appear only at certain user positions.
Before finalizing the camera, test the candidate module behind the actual kiosk window, not only on an open bench. Compare images under bright overhead light, low ambient light, and screen-on conditions. Adjusting the lens angle or adding a simple internal light baffle can sometimes improve usable image quality more than increasing sensor resolution.
Start With the Existing Kiosk Architecture
A retrofit program should begin with a hardware audit. This prevents teams from selecting a camera based on a data sheet before understanding the constraints that govern integration. Document the existing camera interface, cable length, mounting points, available power, internal temperature, front-window geometry, processor platform, operating system, and application requirements.
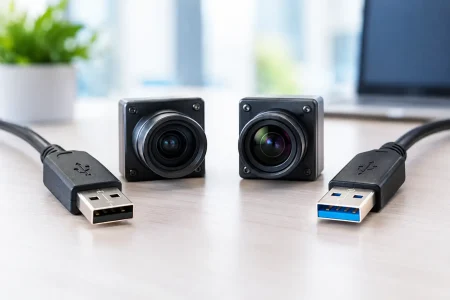
USB is often the lowest-risk route when replacing an older UVC camera because it preserves host compatibility. However, USB 2.0 bandwidth can constrain resolution and frame rate, especially when using uncompressed formats. MJPEG may reduce bandwidth but shifts compression and decoding considerations to the host. USB 3.0 creates more headroom, but only if the kiosk controller, cable routing, and power design support it.
MIPI CSI-2 can be the right choice for a new controller board or a deeper platform revision. It offers direct high-speed sensor integration and can reduce some USB hardware overhead. The trade-off is higher software and board-level integration effort. The host must support the selected sensor, lane configuration, camera driver, and image signal processor pipeline. For a fielded kiosk fleet, that extra work is justified only when the performance gain or system redesign warrants it.
Select the Sensor and Lens as a Pair
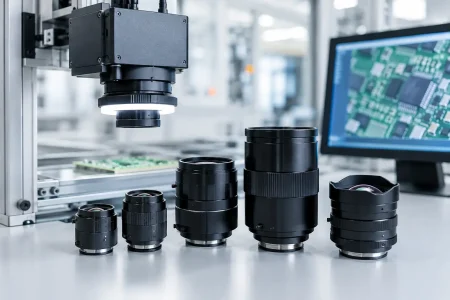
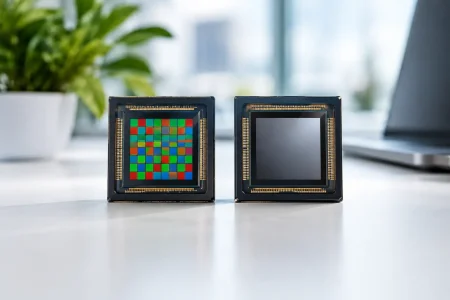
A camera module is not just a sensor. Lens focal length, aperture, distortion, focus range, infrared response, and mechanical tolerance determine whether the image supports the kiosk task.
For face capture at short range, a wide-angle lens may help accommodate user height variation, but excessive width makes faces smaller in the image and can create edge distortion. A narrower lens improves facial pixel density but may miss users who approach off-center. The correct balance depends on the kiosk’s physical placement, user flow, and guidance on the display.
Fixed-focus lenses are often appropriate for kiosks because the user distance is controlled and the design benefits from lower cost and fewer moving parts. Autofocus may be useful when the kiosk must capture documents, packages, or faces across a broader distance range. It also adds power, control, validation, and long-term reliability considerations. For many unattended terminals, fixed focus with a defined depth of field remains the more predictable choice.
Low-light performance depends on sensor pixel characteristics, lens aperture, exposure control, and illumination. If the kiosk operates in variable ambient light, select a sensor with suitable sensitivity and dynamic range, then validate exposure behavior against the actual user interface. A bright display near the lens can cause the camera to underexpose a face. Image tuning should account for this scene rather than relying on default automatic exposure settings.
Mechanical Integration Is a Production Requirement
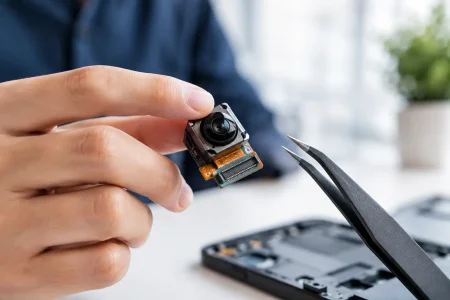
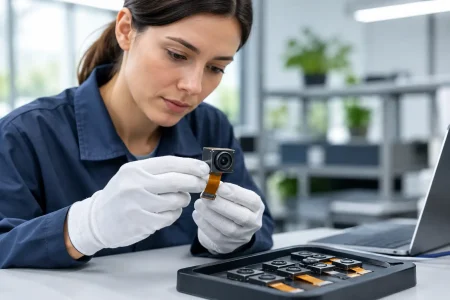
Prototype images can look excellent while the final assembly still fails. Camera retrofit teams should verify module outline, screw-hole positions, lens-center location, connector orientation, cable bend radius, and tolerances between the module and enclosure. These are manufacturing requirements, not secondary details.
A custom bracket may be justified when the current camera position causes a poor angle or blocked field of view. If the kiosk housing cannot change, the camera module itself may need a customized board shape, lens holder height, FPC length, or connector location. This is where an OEM camera partner should provide engineering feedback before the design reaches pilot production.
Thermal conditions deserve the same attention. A kiosk placed near a window, outdoors under a canopy, or in a continuously active lobby may experience elevated internal temperatures. Heat can affect image noise, frame stability, and component life. Test the camera in a closed enclosure at realistic operating temperatures, with the display, processor, and any illumination active.
Validate the Retrofit Against Measurable Acceptance Criteria
The validation plan should reflect the real application, not just a visual preference for sharper images. Define pass-fail thresholds before selecting the final module. For a face-verification kiosk, criteria may include:
- Detectable and usable face images across the intended user height and distance range.
- Stable exposure under bright, dim, and mixed lighting conditions.
- Required frame rate and latency on the production host processor.
- Consistent image orientation, color behavior, and UVC compatibility after restart.
- No mechanical interference, excessive heat, or cable stress after final assembly.
For a barcode or document-capture kiosk, add decoding rate, glare tolerance, motion tolerance, and focus performance at the required working distance. For security or remote-service use, assess low-light detail, compression artifacts, and network impact. The target application determines what “better image quality” actually means.
Pilot builds are the right stage to test sample-to-sample consistency. One camera may work in an engineering lab, while production exposes lens alignment variation, cable-fit issues, and host enumeration behavior. A qualified supplier should support the move from sample evaluation to controlled mass production with stable component selection, optical inspection, and defined change-management practices.
When Customization Is Worth the Effort
Not every retrofit requires a custom camera. A standard USB or MIPI module is usually the fastest choice when the interface, field of view, housing clearance, and image requirements already align. It reduces development time and can simplify procurement.
Customization becomes valuable when the kiosk has unusual mechanical limits, requires a specific lens field of view, needs a nonstandard cable length, must operate behind a difficult cover window, or has specialized low-light or near-infrared requirements. A custom module can eliminate adapters, reduce assembly risk, and improve optical alignment. The trade-off is engineering lead time and the need to lock specifications early enough to support repeatable production.
SincereFirst supports this type of program with standard camera modules and customized imaging development across USB, MIPI, DVP, and FPC platforms. For buyers, the key question is not whether a supplier can produce a sample. It is whether the supplier can maintain the selected sensor, lens, module construction, and inspection standard as the retrofit moves from a few prototypes to a large installed fleet.
A well-executed kiosk retrofit gives an existing terminal a more capable set of intelligent eyes without forcing a full product redesign. Start with the scene, host platform, optics, enclosure, and validation criteria together. That engineering discipline is what turns a camera replacement into a dependable commercial upgrade.