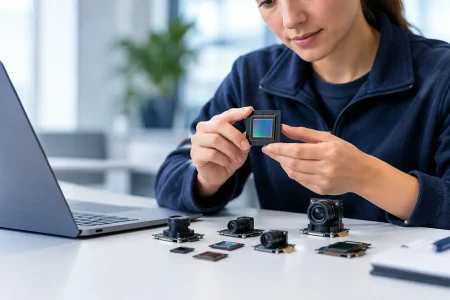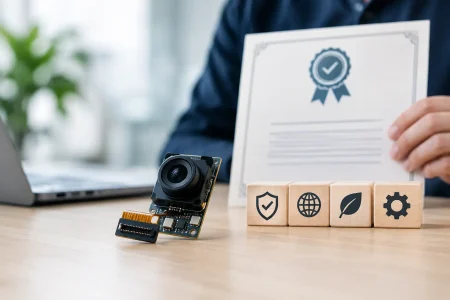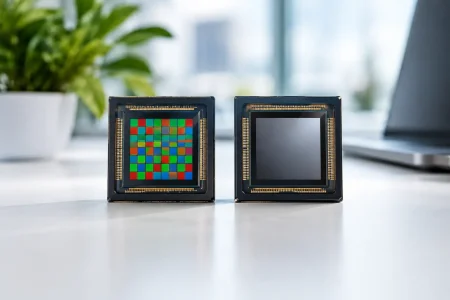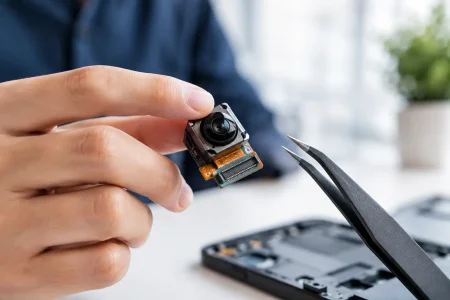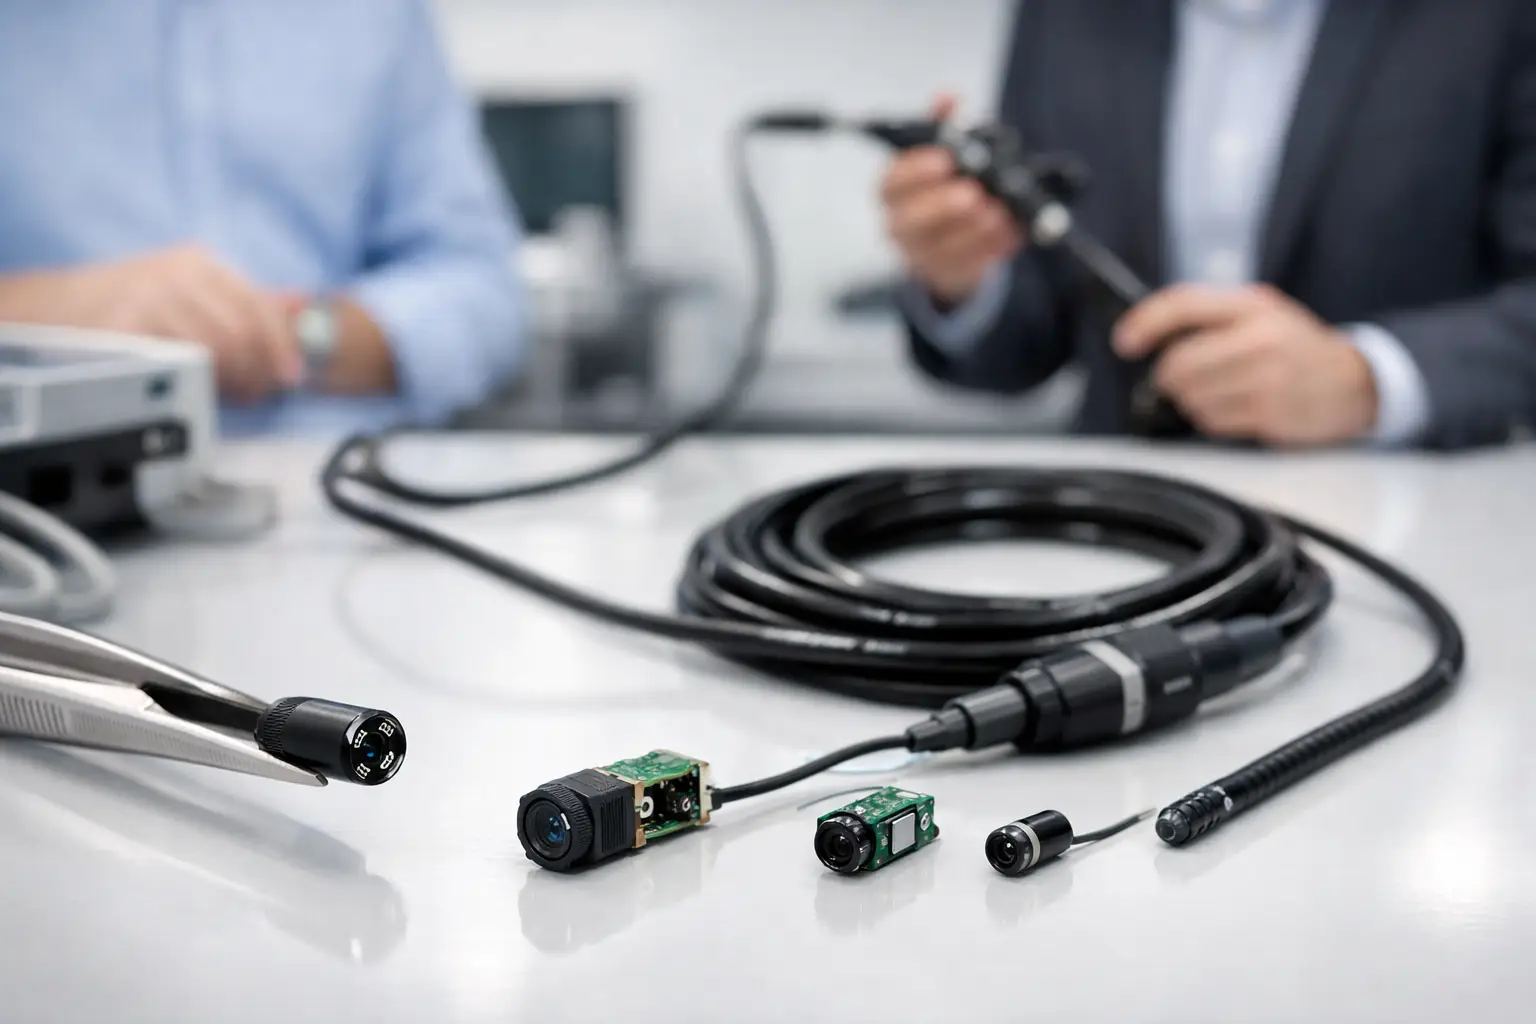
A 1.8 mm camera module that produces a sharp bench image can still fail inside a finished device. The cable may fatigue at the bend point, the LEDs may create glare in a reflective cavity, or the module may not survive the cleaning process required by the application. That is why learning how to source endoscope camera modules is less about comparing catalog resolutions and more about qualifying an imaging system, a manufacturing process, and an engineering partner.
For medical device teams, industrial inspection OEMs, and robotics developers, the right module must fit a limited mechanical envelope while delivering repeatable image quality at volume. Early specification discipline prevents late-stage redesigns, supplier changes, and costly validation delays.
Start With the Use Case, Not the Camera Spec
Endoscope camera modules are application-specific by nature. A module used to inspect turbine channels, automotive castings, or pipe interiors has different priorities from a medical imaging module used near tissue. Define the operating environment before requesting a quotation.
Begin with the target diameter and insertion length. Ready-made endoscope modules can range from approximately 0.9 mm to 10.0 mm in diameter, but the outer diameter alone does not define fit. Account for the lens barrel, LED arrangement, protective tubing, cable exit, strain relief, and any distal articulation mechanism. A smaller diameter often means trade-offs in sensor size, illumination output, field of view, and mechanical durability.
Then define what the operator must see. A wide field of view helps with navigation and general inspection, while a narrower field can reveal smaller defects at a controlled working distance. Resolution matters, but so do focus range, distortion, color reproduction, frame rate, and low-light performance. For a bore inspection tool, near-focus clarity and controlled LED output may be more valuable than a higher pixel count. For a medical visualization platform, color fidelity, low noise, and consistent exposure may carry greater weight.
Ask internal stakeholders to document the actual scene: working distance, surface reflectivity, expected motion, ambient light, fluids or contamination, and pass-fail image criteria. This gives suppliers enough information to recommend optics and illumination rather than simply offering the nearest standard module.
How to Source Endoscope Camera Modules by Interface
The camera output must match the host system as carefully as the distal mechanical design matches the device. Interface selection affects processor requirements, cable length, latency, power consumption, and integration effort.
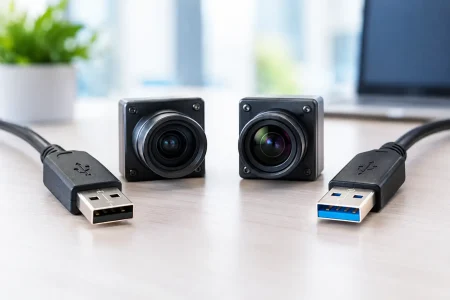
MIPI CSI-2 is frequently selected for compact embedded products because it supports high data rates with low power consumption. It is well suited to boards built around compatible application processors, but cable routing and signal integrity require careful design. DVP can be practical for established embedded architectures, although it is less suited to some high-resolution or high-frame-rate requirements. USB and UVC modules simplify connection to PCs, tablets, and many inspection systems, while USB 3.0 provides more headroom for higher-bandwidth video.
Do not assume an interface label guarantees plug-and-play operation. Confirm the connector type, pinout, supply voltage, clocking, lane count, driver support, video format, and host operating system. If the module includes LEDs, clarify whether illumination is powered and controlled through the same harness or a separate circuit. A supplier should be able to provide electrical documentation and support bring-up on the intended host platform.
Cable design deserves the same attention. Endoscope assemblies often use fine coaxial cables, micro-coax bundles, or flexible printed circuits. The choice depends on diameter, bend radius, transmission distance, and repeated-use demands. Long assemblies can introduce signal loss or noise, especially at higher resolutions. A short prototype cable may work perfectly while the production-length assembly does not, so test the final cable configuration early.
Qualify Image Quality Under Real Conditions
Supplier sample images are useful, but they are not a validation plan. Request samples and test them in the device geometry, at the expected working distances, and against representative target materials. Bright metal, dark cavities, transparent fluids, textured surfaces, and moving objects can expose weaknesses that a standard color chart does not.
Evaluate image performance against measurable criteria. These typically include center and edge sharpness, usable depth of field, field of view, distortion, white balance stability, illumination uniformity, signal-to-noise ratio, dead pixels, and frame stability. For inspection applications, define the smallest defect or feature that must be detected. For clinical or adjacent-to-patient applications, involve regulatory and quality teams before finalizing any image acceptance criteria.
Illumination is a common source of avoidable disappointment. Distal LED placement, color temperature, brightness control, heat generation, and reflections all influence usable image quality. Side-view and forward-view modules require different optical and lighting arrangements. In narrow reflective bores, excessive illumination can wash out the target and hide defects. In darker environments, insufficient output increases sensor noise. Adjustable LED current or software-controlled exposure can help, but the final result depends on the entire optical stack.
Review Mechanical, Environmental, and Cleaning Requirements
A camera module is not automatically suitable for medical use because it is small or produces a clean image. Medical applications may require specific biocompatibility considerations, traceability, validation documentation, and compatibility with the intended cleaning, disinfection, or sterilization process. Industrial applications can be equally demanding when exposed to oil, vibration, pressure, abrasion, or temperature cycling.
Specify whether the product is disposable, limited-use, reusable, or permanently installed. A disposable module may prioritize cost and assembly speed. A reusable scope requires a more demanding assessment of sealing, materials, cable flex life, and environmental resistance. Ethylene oxide, plasma, autoclave, and chemical disinfectants create different material and optical risks. Lens adhesives, cable jackets, LED encapsulation, and sealing compounds must be selected for the actual process, not an assumed one.
For industrial endoscopes, define ingress protection expectations, operating temperature, storage temperature, vibration exposure, and chemical contact. If a side-view module must rotate or pass through a tight bend, include those mechanical loads in the qualification plan. The distal tip is compact, but it is a complete electromechanical assembly with multiple potential failure points.
Audit the Supplier Beyond the Sample
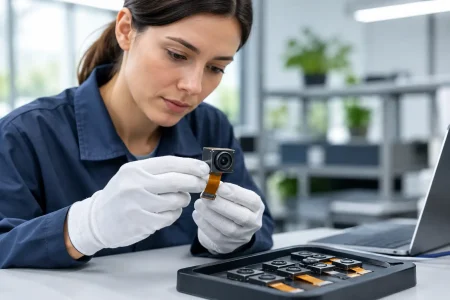
A functional prototype does not prove that a supplier can deliver stable production. Procurement and engineering should assess design capability, process controls, incoming inspection, cleanroom practices where applicable, traceability, and quality documentation. The goal is to reduce variation between the approved sample and the ten-thousandth unit.
Ask direct questions about sensor sourcing and lifecycle management. Sensors can be discontinued, allocated, or revised. A capable manufacturer should identify alternatives, communicate change-control procedures, and support revalidation when a critical component changes. Also confirm ownership and availability of tooling, lens specifications, firmware settings, test fixtures, and production records.
A useful supplier qualification discussion should cover at least these production controls:
- Incoming inspection for sensors, lenses, FPCs, cables, and connectors
- Optical alignment, focus setting, and image-test methods for each assembly
- Electrical testing for current draw, output stability, and LED operation
- Cosmetic and mechanical inspection of the distal tip, cable, and strain relief
- Lot traceability, nonconformance handling, and change-notification procedures
Fast samples are valuable, but sample speed should not replace a documented path to mass production. Look for a supplier that can move from engineering samples to pilot builds and scaled manufacturing without changing the core process or losing engineering responsiveness.
Build Customization Into the RFQ
A strong RFQ does more than request a unit price. It gives the supplier a clear basis for engineering review and helps uncover risks before tooling or validation begins. Include the target application, required outer diameter, viewing direction, working distance, field of view, resolution, frame rate, interface, cable length, connector, LED requirements, environmental conditions, expected annual volume, and target schedule.
If you have mechanical drawings, host-board details, or preliminary industrial design constraints, provide them under the appropriate confidentiality process. The supplier can then assess whether a standard module is sufficient or whether the project needs a custom lens, alternate sensor, longer cable, side-view configuration, integrated illumination, or specialized encapsulation.
The lowest quoted module price can become the highest program cost if integration requires repeated optical changes or if supply continuity fails after launch. Compare suppliers on engineering response time, documented test capability, manufacturing scale, and willingness to define acceptance standards jointly. SincereFull, the endoscope module brand of SincereFirst, supports both ready-made and customized camera module configurations for teams that need a path from prototype evaluation to volume supply.
Plan for Pilot Validation Before Release
Before approving production, build a pilot lot using the intended materials, cable length, interface, and assembly process. Test image consistency across units, not only the best sample. Include functional tests after bending, temperature exposure, vibration where relevant, cleaning cycles, and repeated connector mating if applicable.
Use the pilot to finalize incoming quality limits and production acceptance standards. Decide how focus, field of view, LED brightness, pixel defects, cable cosmetics, and connector retention will be measured. Clear criteria protect both the buyer and manufacturer because they convert subjective image judgments into inspectable requirements.
The best sourcing decision is the one that leaves your engineering team with fewer unknowns at launch. Define the scene, validate the complete assembly, and select a manufacturer that can explain how every critical dimension and image parameter will be controlled. That discipline gives your endoscope product a clearer path from first sample to dependable field performance.