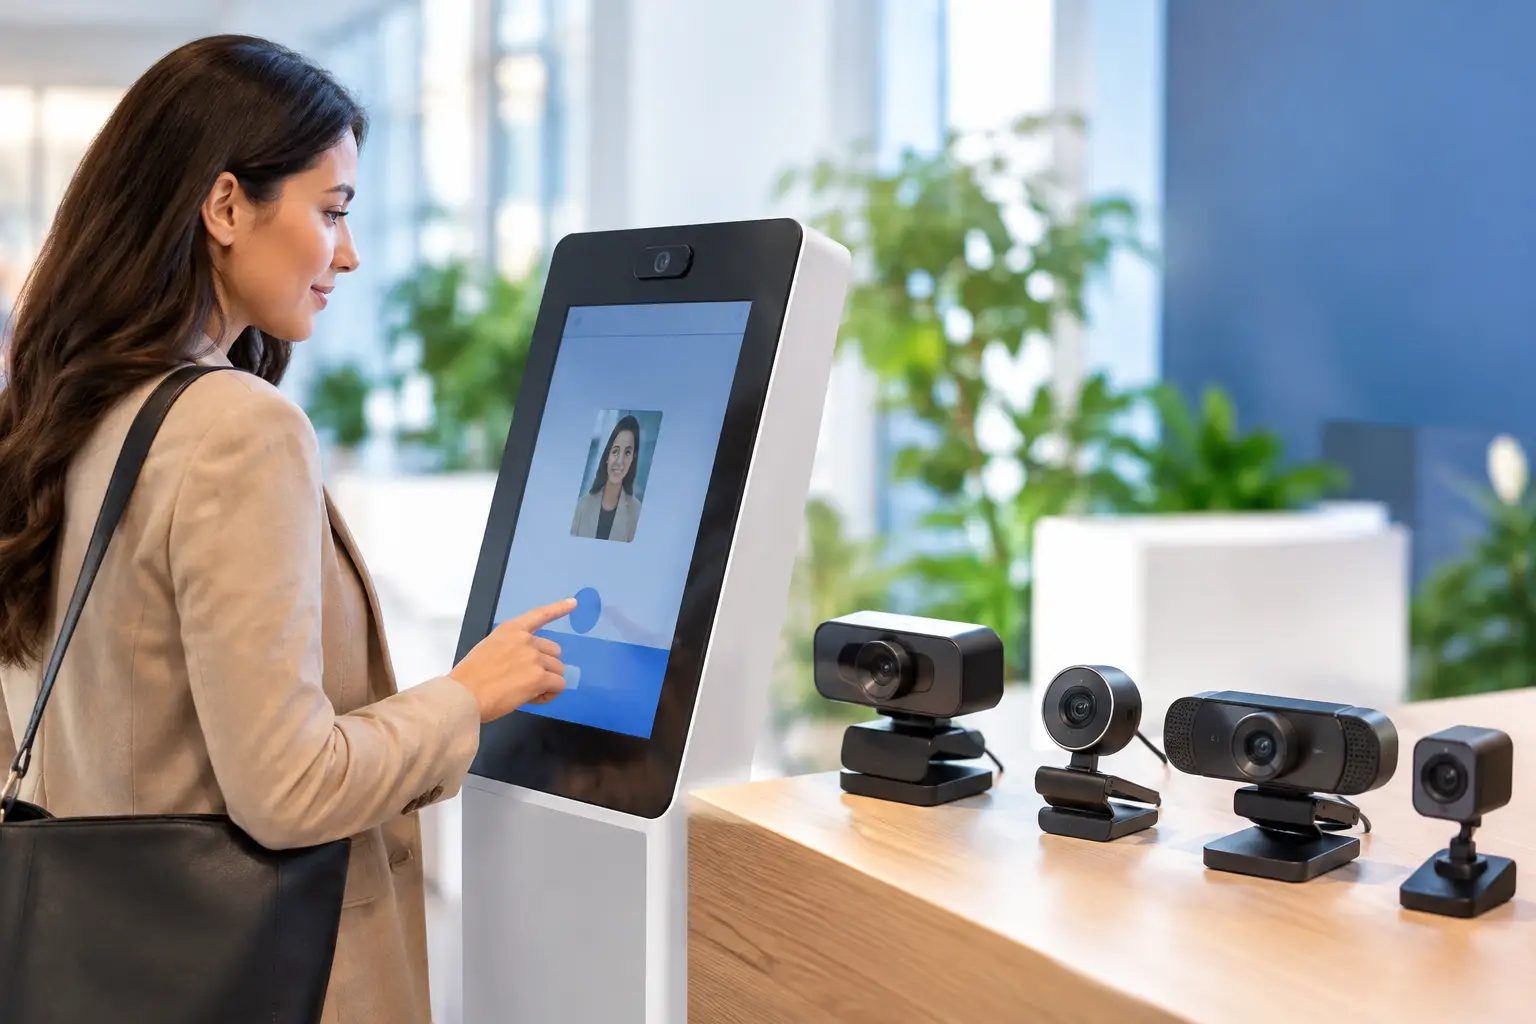
A kiosk camera that looks excellent on an engineering bench can fail at the point of use. It may wash out a driver’s license under overhead LEDs, miss a face behind reflective glasses, or create a USB cable-routing problem that slows assembly. The best USB cameras for kiosks are therefore not defined by resolution alone. They are selected around the transaction, the enclosure, the lighting, and the expected production volume.
For OEMs, integrators, and device teams, USB remains a practical camera interface because it is familiar, supports fast development, and can work with standard operating systems without a custom driver. But a successful kiosk program requires more than plugging in a UVC module. Sensor selection, lens field of view, exposure behavior, mechanical design, and supplier control all affect field performance.
Start With the Kiosk Job, Not the Camera Spec
A payment terminal, self-service check-in unit, smart locker, ticketing machine, and industrial service kiosk may all use USB cameras, but they do not ask the camera to do the same work. A camera used for live video assistance needs natural color and reliable low-light performance. A camera for QR or barcode reading needs sharp detail at a defined working distance. Identity verification requires controlled exposure, face framing, and sometimes high dynamic range.
Before comparing modules, define what must be visible, how far away it will be, and how quickly the image must be captured. A 1080p module can be the right choice for a face video call at close range. Document capture or wide-area monitoring may benefit from 4K, but only if the host processor, USB bandwidth, storage, and application software can use the additional data.
Resolution has a cost beyond the camera bill of materials. Higher pixel counts can increase bandwidth demand, processing load, heat, and validation time. For many kiosk programs, stable 1080p output with a correctly matched lens produces a better result than an oversized sensor with an unsuitable field of view.
The Best USB Cameras for Kiosks Match Four Core Requirements
1. Interface and host compatibility
For rapid integration, a UVC-compliant USB camera is usually the preferred starting point. UVC support allows the module to operate with common Windows, Linux, and Android environments using standard camera frameworks. It reduces driver work and gives software teams a predictable path for prototypes and production builds.
USB 2.0 remains suitable for many 720p and 1080p kiosk applications, especially when compressed formats such as MJPEG are acceptable. USB 3.0 is the stronger choice when the kiosk needs higher resolution, higher frame rates, or uncompressed video formats. The decision should account for the full host architecture. A USB 3.0 camera connected through a limited hub or long, poorly shielded cable will not deliver its expected advantage.
Ask early whether the final product uses a direct motherboard connection, an internal hub, or an external service cable. USB connector orientation, retention, electromagnetic interference, and cable strain relief are production issues, not details to solve after image tuning.
2. Sensor performance under real lighting
Kiosk lighting is rarely controlled. A unit may be installed beside a bright storefront window, in a dim transit station, or under flickering LED fixtures. The sensor must maintain usable image quality across that range without producing excessive noise, motion blur, or clipped highlights.
For general customer-facing use, evaluate low-light sensitivity, signal-to-noise ratio, white balance stability, and automatic exposure behavior. For applications that capture faces or documents against bright backgrounds, wide dynamic range can be more valuable than a higher resolution rating. HDR or WDR capability helps retain detail in shadows and highlights, but its effectiveness depends on the sensor, image signal processing, and scene motion.
Flicker control also deserves a formal test. In North American deployments, 60 Hz lighting conditions are common. A camera that performs well under daylight may show bands or unstable exposure beneath certain LED drivers. Test the exact module with the expected exposure settings and installed illumination whenever possible.
3. Lens choice and working distance
The lens determines what the sensor can actually see. In kiosk design, the wrong lens is one of the most common reasons a technically capable module misses its target. A wide-angle lens can capture a customer standing close to the screen, yet it may introduce distortion that complicates document reading. A narrow field of view can improve detail but may lose the user when they stand slightly off center.
Choose the lens around the active area and working distance. For face capture, assess the visible facial region at the nearest and farthest expected user position. For code scanning, verify that the smallest required code remains readable across the intended scan zone. Fixed-focus cameras are often preferable when the object distance is known because they simplify the module and avoid focus-hunting delays.
Autofocus is useful for kiosks that must capture objects at widely different distances, such as a service terminal handling documents, packages, and people. It is not automatically better. Autofocus adds moving parts, software behavior to validate, and possible delays. In a repeatable enclosure, a fixed-focus lens with an optimized focal position is often the more reliable production decision.
4. Mechanical integration and lifecycle control
A kiosk camera is part of a physical product, not a standalone webcam. Module dimensions, lens height, mounting holes, board shape, connector location, and heat clearance must fit the industrial design. Even a small change to lens barrel height can interfere with a front glass panel or cosmetic bezel.
The camera also needs protection from the installation environment. A public-facing kiosk may require a recessed lens window, anti-reflection treatment, dust management, tamper resistance, or infrared filtering tailored to the light source. If the module sits behind cover glass, test reflections and ghosting at the final angle. A clear window is not necessarily optically neutral.
For a product with a multi-year service life, component continuity matters as much as first-sample quality. Confirm sensor availability, lens sourcing, firmware version control, end-of-life notification practices, and inspection standards. Procurement teams should not treat the camera as a commodity if the image function is central to customer experience or compliance.
A Practical Camera Configuration Matrix
The following configurations are useful starting points, not universal prescriptions.
| Kiosk application | Typical camera priority | Practical USB direction | | — | — | — | | Video assistance or check-in | Natural color, low-light image, stable 30 fps | UVC 1080p USB 2.0 or USB 3.0 module with tuned fixed focus | | Identity verification | Face detail, WDR, controlled exposure | 1080p or higher USB 3.0 module with HDR/WDR evaluation | | QR and barcode scanning | Sharpness at scan zone, motion handling | Fixed-focus module optimized for the code distance and illumination | | Document capture | High detail, low distortion, even lighting | Higher-resolution USB 3.0 module with matched lens and controlled LEDs | | Industrial service kiosk | Durability, cable retention, consistent image | Board-level USB module with secured mounting and defined lifecycle support |
This matrix illustrates why “best” depends on the use case. A high-resolution document camera can be a poor choice for video support if it creates unnecessary bandwidth demand. Likewise, a wide-angle conferencing-style module may not provide enough edge sharpness for machine-readable codes.
Validate the Image in the Final Enclosure
Camera selection should move quickly from datasheet review to application testing. Evaluate candidate modules inside a representative kiosk enclosure, with the final display brightness, cover glass, lighting geometry, cable length, and host platform. Bench testing under office lighting does not expose many of the issues that appear after installation.
Build an acceptance plan that measures the functions that matter to the product. For example, test face visibility across different user heights, document legibility under glare, barcode decode rates at target distances, startup time, frame stability, and recovery after USB reconnect. Include challenging conditions such as backlight, low illumination, motion, and temperature variation.
Engineering teams should also verify control behavior. Can exposure, gain, white balance, focus, frame rate, and image flip settings be configured consistently? Are the selected values retained after a power cycle? Does the module enumerate reliably on every supported host? These questions reduce integration risk far more effectively than comparing resolution numbers alone.
When Custom USB Camera Development Is Worth It
A standard UVC module is often the fastest route to proof of concept. Customization becomes valuable when the kiosk has limited internal space, a nonstandard mounting position, a demanding lighting environment, or a specialized imaging task. Common requirements include a custom board outline, connector placement, lens selection, fixed-focus calibration, infrared sensitivity, LED synchronization, logo-free mechanical design, or controlled firmware parameters.
The right manufacturing partner should be able to translate those requirements into a sample plan, optical recommendation, and production control strategy. Fast prototypes matter, but so do cleanroom assembly, incoming component control, image inspection, and capacity to support ramp-up after design approval. SincereFirst supports USB camera module programs with standard options and custom imaging development for device manufacturers that need a camera designed around the product rather than added at the last minute.
Treat the camera as an engineered subsystem from the first enclosure review. When sensor, lens, USB architecture, lighting, and manufacturing lifecycle are specified together, the kiosk has a far better chance of delivering clear images on its first real day of service.